每个前端,移动端开发者都应该了解一下 GraphQL。要试一下 GraphQL,你得去搭建一个 GraphQL 后端服务,可以用 Node.js,Rails,Django 等等。最近宁皓网录了个课程,介绍了用 Node.js 创建一个 GraphQL 后端服务。等不及的话,你可以找个现成的服务。比如 Graphcool,它可以快速帮你创建一个 GraphQL 的后端服务。
创建一个后端服务以后,你就可以去练习 GraphQL 的查询,修改,订阅等等。
1. 安装命令行
安装一下 graphcool 命令行工具,Windows 可以下载安装 Cmder 命令行,macOS 用户可以用系统自带的终端。确定系统上安装好了 Node.js 以后,在命令行工具上执行:
npm install graphcool --global
2. 创建项目
有了 graphcool,可以用这个工具在命令行下面创建一个项目。执行:
graphcool init graphql-backend
graphql-backend 是我给项目起的一个名字,你可以随便定义这个名字。
命令会返回下面这些东西:
Creating a new Graphcool service in graphql-backend... ✔

Written files:
├─ types.graphql
├─ src
│  ├─ hello.js
│  └─ hello.graphql
├─ graphcool.yml
└─ package.json

To get started, cd into the new directory:
  cd graphql-backend

To deploy your Graphcool service:
  graphcool deploy

To start your local Graphcool cluster:
  graphcool local up

To add facebook authentication to your service:
  graphcool add-template auth/facebook

You can find further instructions in the graphcool.yml file,
which is the central project configuration.
graphcool.yml 是服务的 root 配置文件。types.graphql 里面定义了数据模型。
Atom 编辑器高亮显示 GraphQL 语法,可以安装:https://atom.io/packages/language-graphql
3. 部署项目
进入到刚才创建的项目所在的目录,在这个目录的下面,执行:
→ graphcool deploy

? Please choose the cluster you want to deploy to (Use arrow keys)

  Shared Clusters:
❯ shared-eu-west-1
  shared-ap-northeast-1
  shared-us-west-2

  Custom clusters (local/private):
首先会问你服务器要选择哪个区域,这个随便选,因为服务器都是在国外,我们访问的速度也不会太好。但我们的目的只是为了测试与学习 GraphQL,速度也无所谓。以后我们可以自己在国内的服务器上搭建 GraphQL 服务。
授权
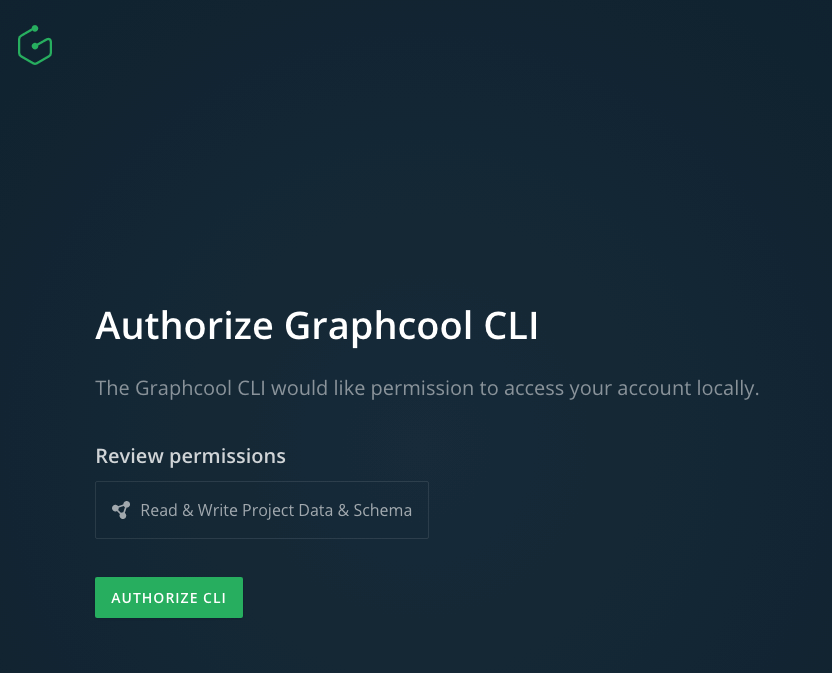
部署的过程中会打开浏览器让你授权。
? Please choose the cluster you want to deploy to

shared-eu-west-1

Auth URL: https://console.graph.cool/cli/auth?cliToken=cjbptpq8q0000ft10qu8miw9d&authTrigger=auth
Authenticating...
授权完成以后,部署就成功了。
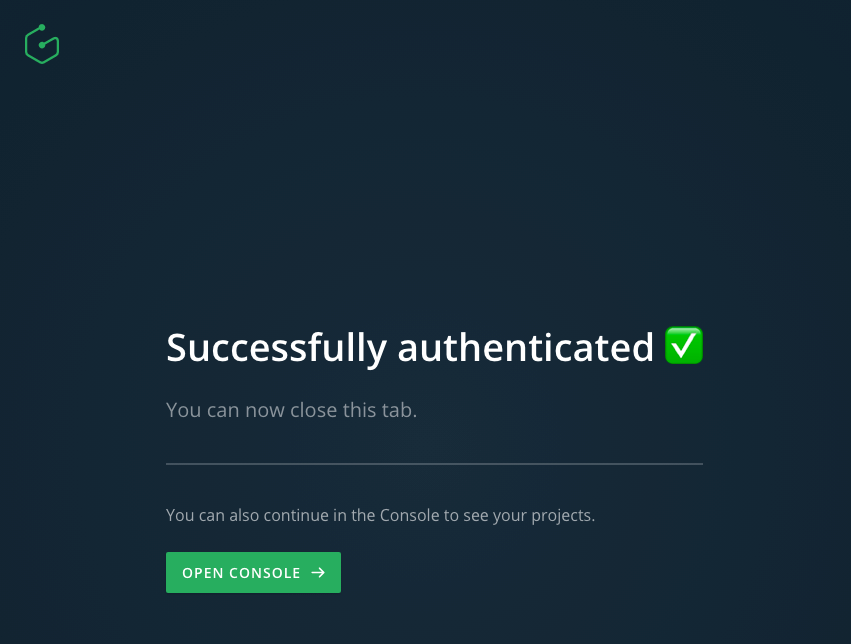
Creating service graphql-backend in cluster shared-eu-west-1... ✔
Bundling functions... 4.0s
Deploying... 1.7s

Success! Created the following service:

Types

  User
   + A new type with the name `User` is created.
   ├─ +  A new field with the name `name` and type `String` is created.
   └─ +  A new field with the name `dateOfBirth` and type `DateTime` is created.

Resolver Functions

  hello
   + A new resolver function with the name `hello` is created.

Permissions

  Wildcard Permission
   ? The wildcard permission for all operations is added.

Here are your GraphQL Endpoints:

  Simple API:        https://api.graph.cool/simple/v1/cjbptr6j30o3g0184eiqlzdxr
  Relay API:         https://api.graph.cool/relay/v1/cjbptr6j30o3g0184eiqlzdxr
  Subscriptions API: wss://subscriptions.graph.cool/v1/cjbptr6j30o3g0184eiqlzdxr
4. 测试
在 Graphcool 的网站上,打开控制台,选择刚才创建的项目,然后打开 Playground,在这里可以执行 GraphQL 的操作,比如 Mutation 或 Query。
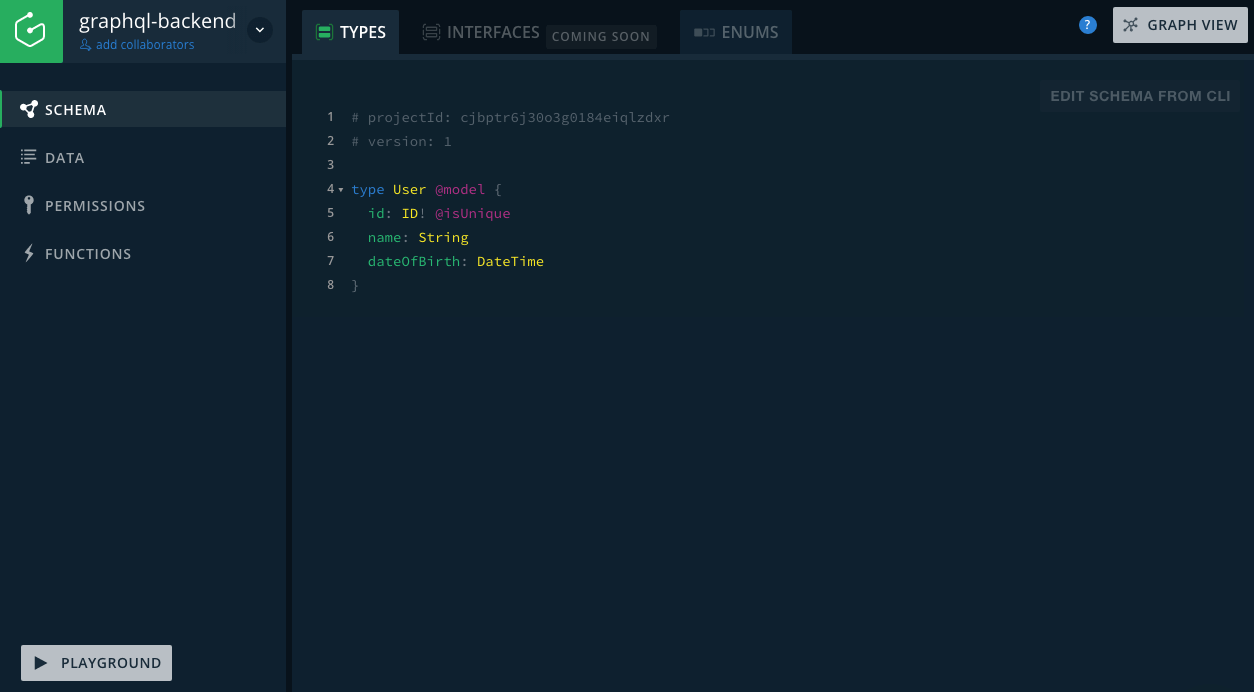
创建用户
Graphcool 会自动帮我们添加好一些 Schema,比如我们的项目里有一个 User 类型,对应的应该会有一个 createUser 可以用来创建新的用户。执行:
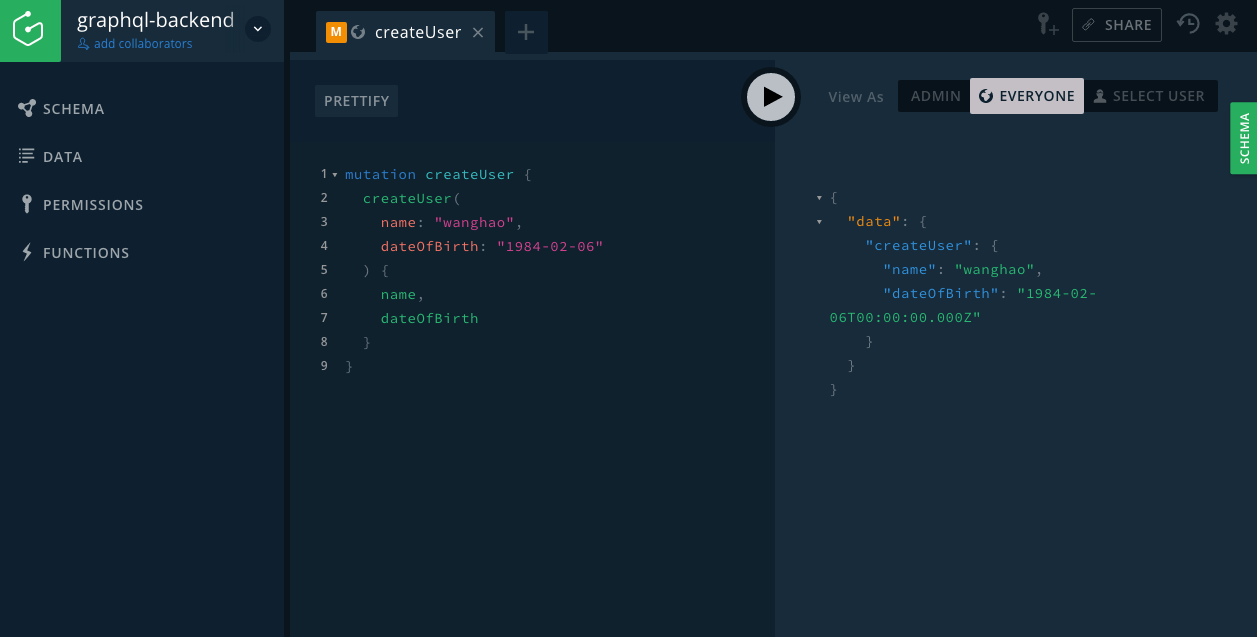
mutation createUser {
  createUser(
    name: "wanghao",
    dateOfBirth: "1984-02-06"
  ) {
    name,
    dateOfBirth
  }
}
返回:
{
  "data": {
    "createUser": {
      "name": "wanghao",
      "dateOfBirth": "1984-02-06T00:00:00.000Z"
    }
  }
}
查询用户列表
allUsers 可以查询用户列表,执行:
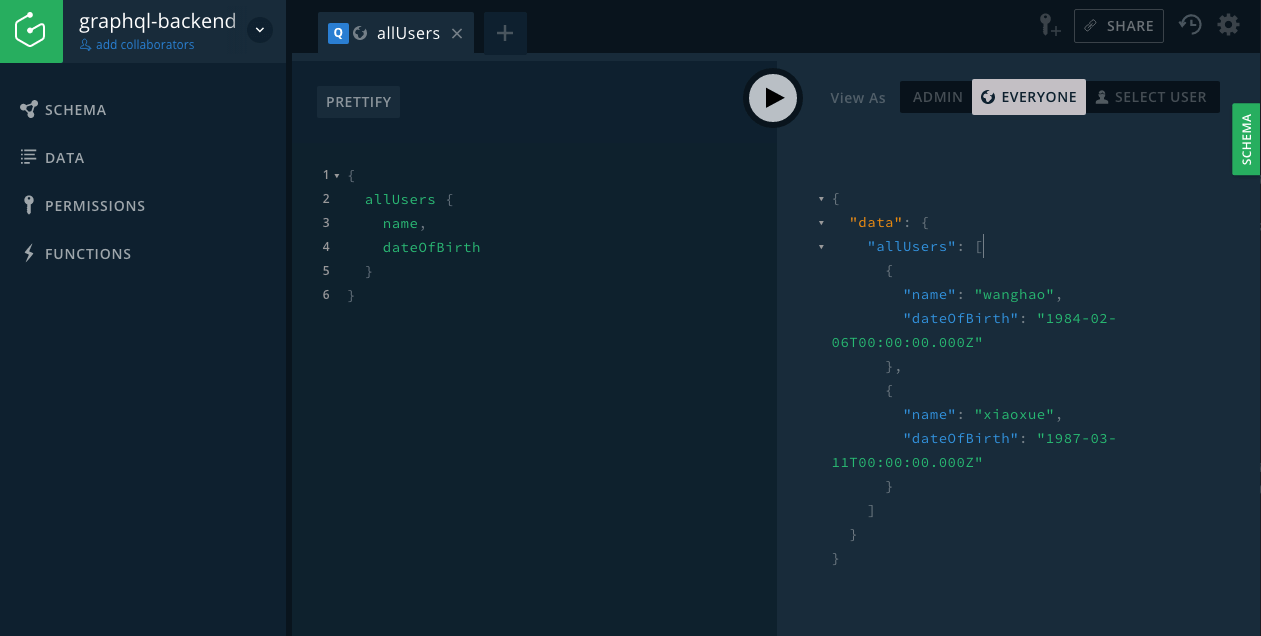
{
  allUsers {
    name,
    dateOfBirth
  }
}
返回:
{
  "data": {
    "allUsers": [
      {
        "name": "wanghao",
        "dateOfBirth": "1984-02-06T00:00:00.000Z"
      },
      {
        "name": "xiaoxue",
        "dateOfBirth": "1987-03-11T00:00:00.000Z"
      }
    ]
  }
}


评论
能就这个做个视频出来么?放在graphql那里面,这里门道很多啊,本地部署,还有和数据库的沟通
7 年 9 个月 以前
GraphQL 在后面咱们会继续学一下。
7 年 9 个月 以前